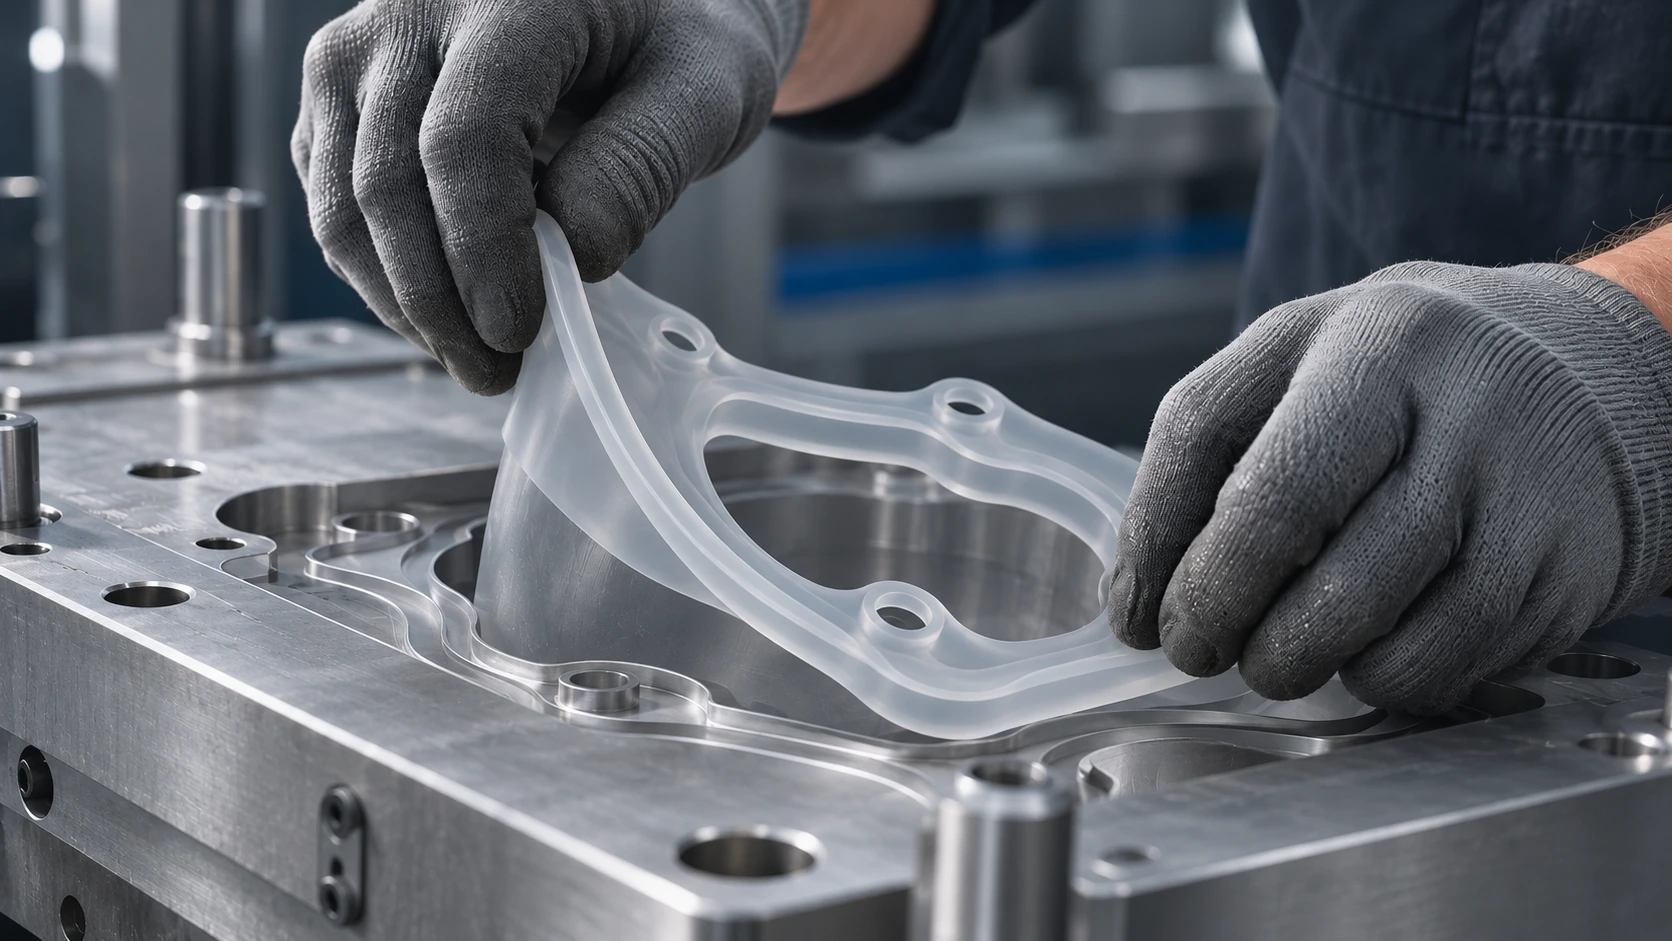
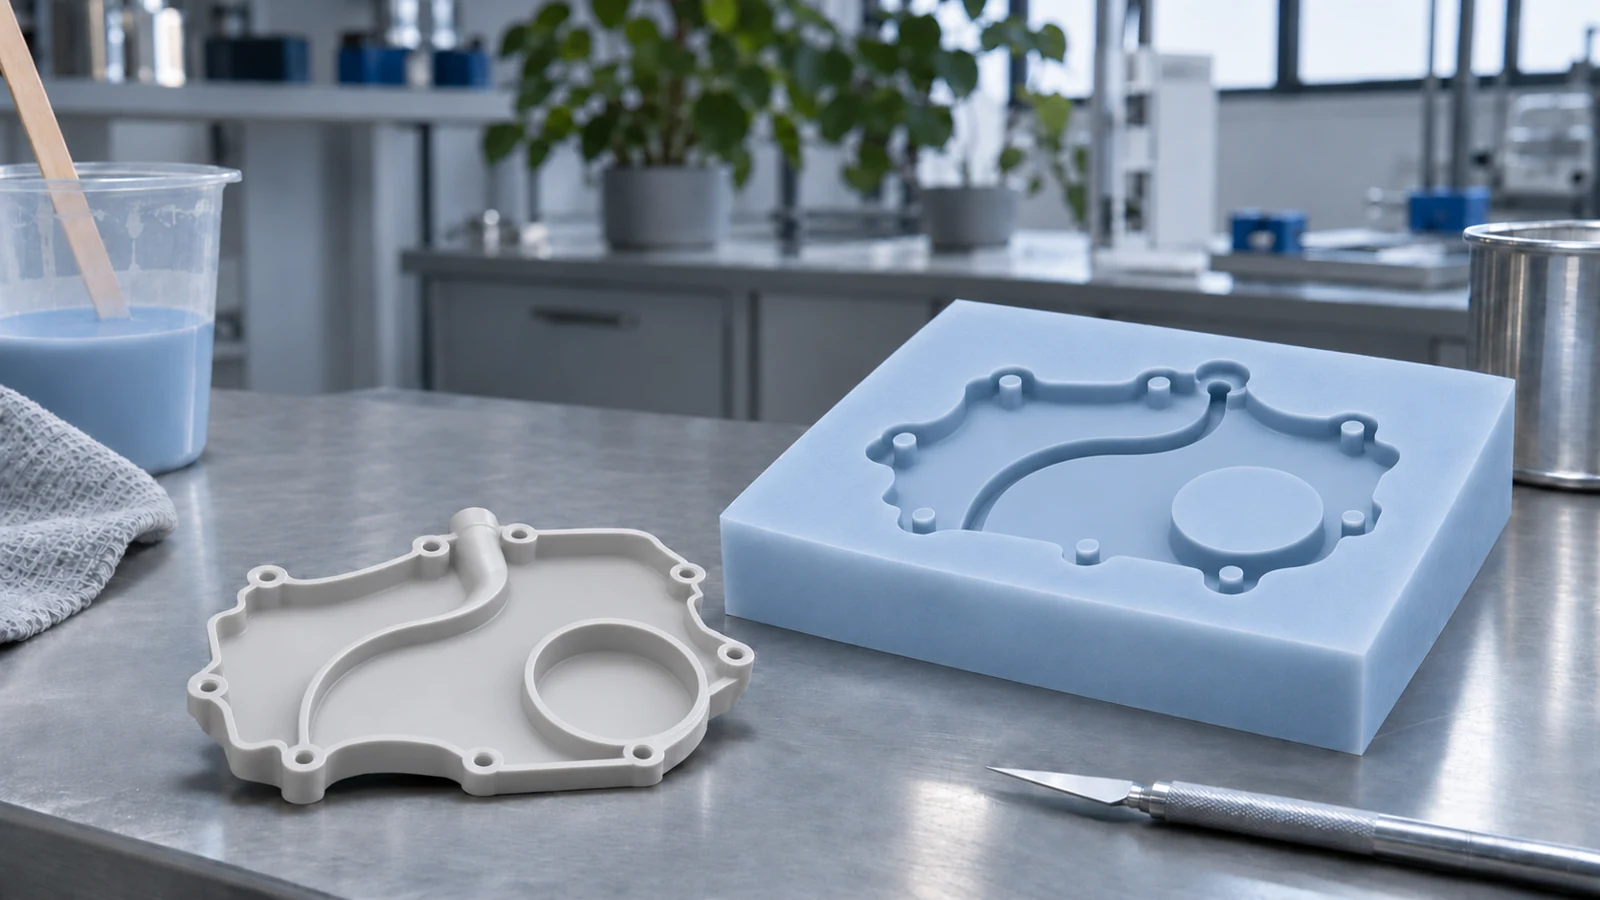
First, describe what is to be molded. Show the geometry, fine details, and undercuts in a photo or sketch. Note how the casting will be removed from the mold and whether a specific mold setup is already planned.
Next, specify the casting material. A silicone is selected for the combination of the original, the mold, and the casting. Manufacturer programs differ in aspects such as hardness, mechanical properties, and curing system. Therefore, a single hardness value does not answer all questions regarding the mold.
The size of the mold and the planned process are also helpful for processing. Refer to the specific product data sheet for mixing ratios and processing instructions. An existing silicone sealant can serve as a comparison when you explain what works with it and what you want to change.
Prepare your first attempt using the actual original and casting material. This will allow you to assess the suitability of the material for your task. For the material request, a clear description of the geometry, the casting material, and the required test quantity are a sensible starting point.
How does the choice of materials change things?
| Your situation | Consequences for selection and trial |
|---|---|
| If the original is porous, such as wood or plaster | Specify the sealant and release agent for the chosen silicone system. Check the prepared surface; coatings can alter the detail reproduction. |
| If the original is painted, coated, or printed with UV resin | Check the finished surface structure, not just the base material. For UV resin prints, document post-treatment and complete curing according to the resin manufacturer's instructions; then perform a contact test with the intended silicone. |
| When addition-curing silicone remains sticky at the contact surface | Apply a test sample to a non-critical control area next to the affected area. If only the contact test fails to harden, check surface materials and auxiliary materials for inhibitors. Sealing does not resolve every incompatibility. |
| If deep undercuts or thin ridges are present | Sketch the demolding direction and parting lines. Consider hardness in conjunction with elongation, tear resistance, and wall thickness; a low Shore value alone does not solve the geometry problem. |
| When a soft molded body needs to maintain its geometry | Include a support mold as a design option and assess its performance under the weight of the planned casting. The dimensional accuracy of the finished casting is crucial. |
| If the casting material or the desired quantity changes | Do not simply transfer previous results without verification. Compare demolding, surface finish, and repeated use with the new casting material; define the required service life as a separate test criterion. |
Define the mold design before ordering the materials
- Specify geometry
Create a photo or sectional sketch showing parting lines, undercuts, thinnest mold wall, and demolding direction. Draw in the support form and mold box, if required.
- Name the complete material structure
Record the original material, paint or sealant, release agent, and casting material with their product names. Any change to this combination will be documented as a new test variant.
- Compare processing with the data sheet
Specify the mixing ratio by mass or volume, processing time, degassing time, and demolding time for the specific system. Also note the mold volume, mixing container, and available processing technology.
Evaluate the first impression attempt
- Contact test before the entire mold
Prepare a small sample on a spare piece with an identical final surface. If inhibition is suspected, carry a control sample on a known compatible surface.
- Assess curing and surface finish
After the product-specific waiting time, compare the contact side and the uncured side. Photograph any stickiness, uncured areas, air bubbles, and lost detail; if a defect is found, first investigate its cause.
- Pour with the intended casting material
Check the demolding process, damage to thin areas, surface finish, and relevant mass of the casting. Document repeated castings if multiple uses are planned.
- Documenting a decision
Record the product and batch number, mixing quantities, temperature, times, surface structure, and result. Before the next attempt, specify a targeted change to ensure comparability of results.
Result: a documented mold construction and a comprehensible initial test as a basis for further material selection.
Compare RTV-2 products in the catalog